Video Tutorial
If you are from India or if you know the Hindi language, you can follow the video by watching it. If not, you can scroll down below.
⚠️ IMPORTANT WARNING
READ BEFORE PROCEEDING
⚠️ USE AT YOUR OWN RISK
Before modifying system settings, please understand:
- 🔴 Warranty: Modifying system settings may void your device warranty
- ⚡ System Settings: This modifies Android system behavior and settings
- 🔋 Battery Impact: Disabling Phantom Process Killer may affect battery life
- 📱 System Performance: May impact overall device performance and memory management
- 🔄 Android Updates: Settings may reset after system updates
RECOMMENDATIONS:
- ✅ Only proceed if you understand the implications
- ✅ Create a backup before making system changes
- ✅ Follow instructions carefully
- ✅ Keep Shizuku updated and running properly
Legal Notice: The author and website are not responsible for any damage, performance issues, or device malfunction resulting from following this tutorial. Proceed at your own risk.
What is Phantom Process Killer
Android 12 introduces a new feature known as the “Phantom Process Killer” designed to manage background processes initiated by apps. These background processes, or “phantom processes,” are monitored and terminated if they exceed certain limits to optimize system resources and enhance performanc. When these processes are killed, you receive a Signal 9 error in Termux

How To Disable Phantom Process Killer
Note: This method is for non-rooted phones, that’s why it’s a bit longer. It is easier to perform on a rooted device
Step 1: Install Shizuku App
You need to install the Shizuku app. If you don’t know how to do it, check this blog: How To Install And Setup Shizuku On Android. I assume that you have successfully installed Shizuku and brought it into running mode

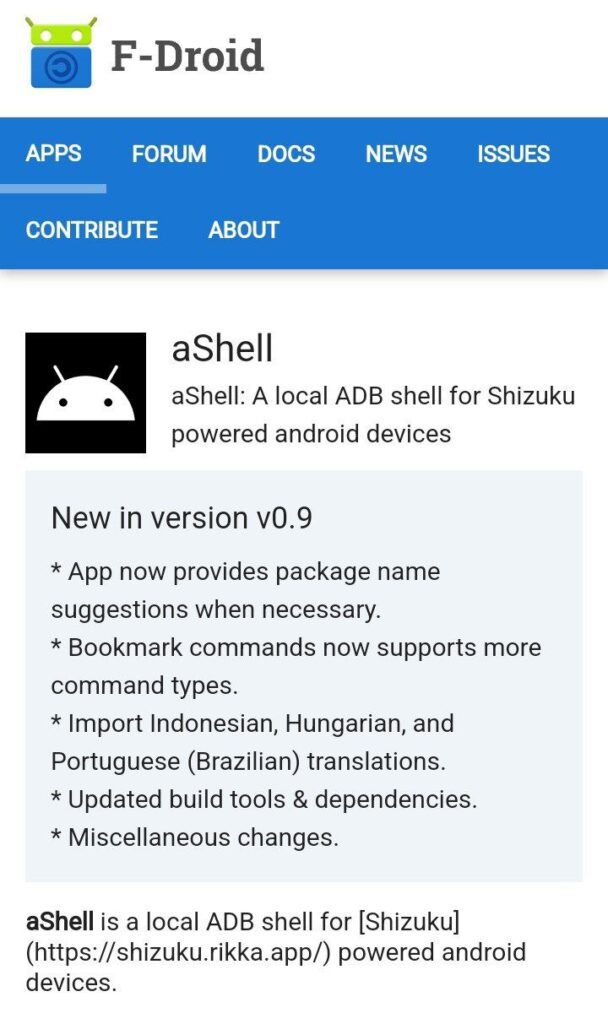
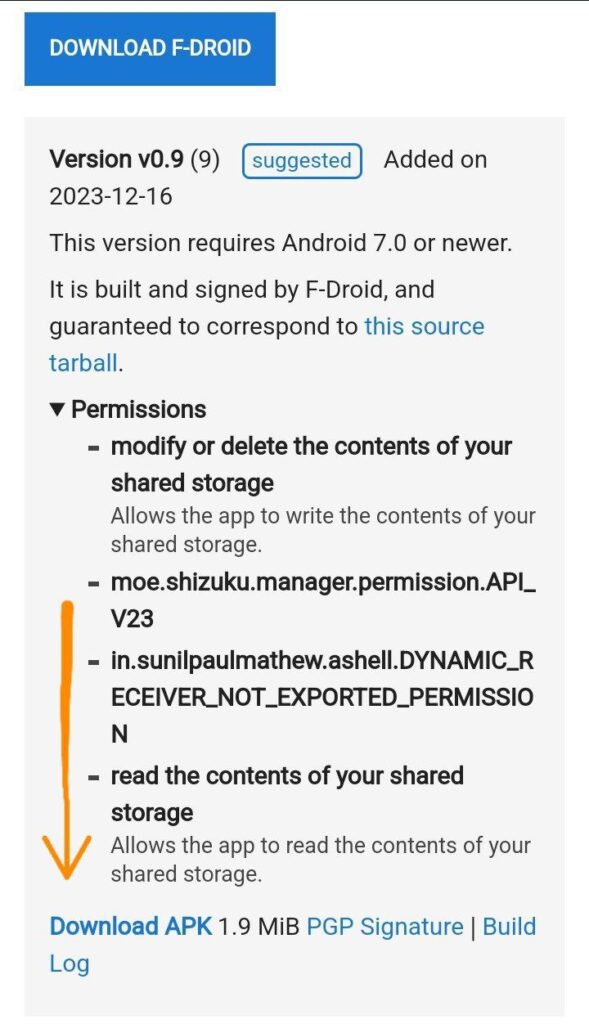
Step 2: Download aShell
Now, you need to download aShell from F-Droid: aShell on F-Droid
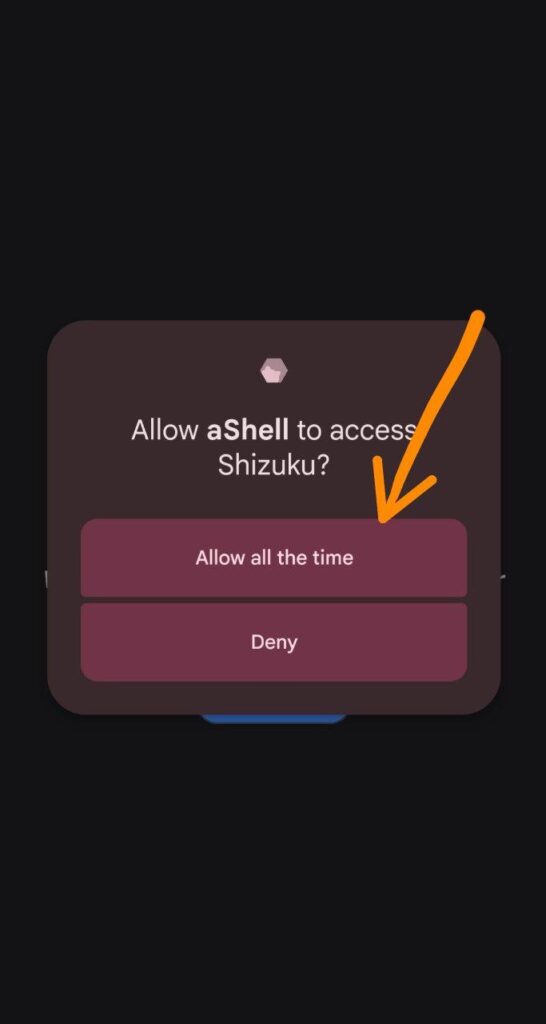
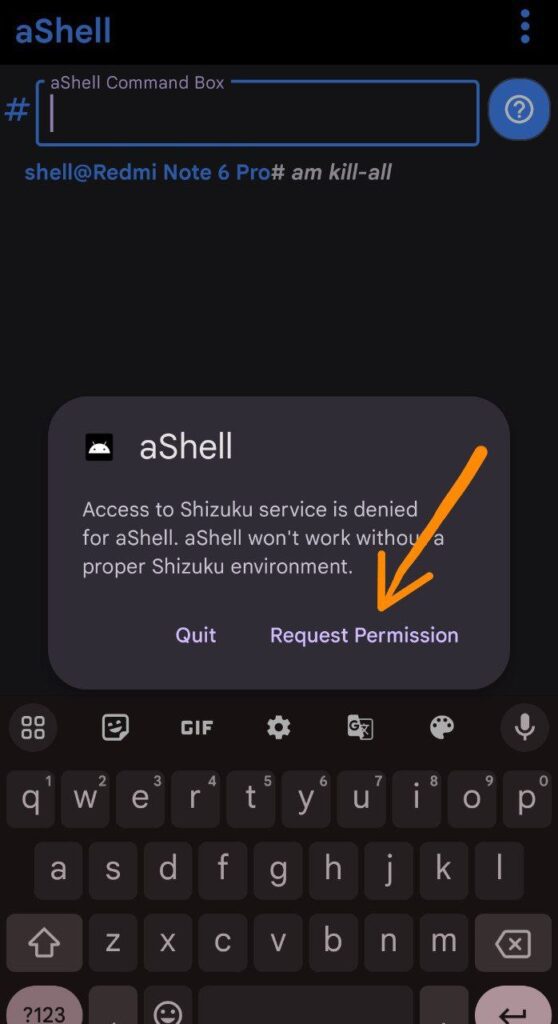
Step 3: Connect aShell With Shizuku
Now Connect aShell With Shizuku . When you open aShell, you will receive a notification asking if you want to grant access to aShell for using Shizuku. You need to allow it. If you accidentally deny it, you will have to uninstall and reinstall the app, and the permission prompt will appear again. Alternatively, if you enter any command in aShell, it may also prompt you to grant permission for Shizuku. You can provide permission there as well.
Step 4: Enter Commands to Disable Phantom Process Killer
So now, our Shizuku is ready, and aShell is also set up. Let’s begin by entering the commands to disable the Phantom Process Killer
( Before entering the command in aShell, remember to check if there are any extra spaces in the command. Because if you input a command with extra spaces in aShell, it may result in an error)
Command 1:
/system/bin/device_config set_sync_disabled_for_tests persistent
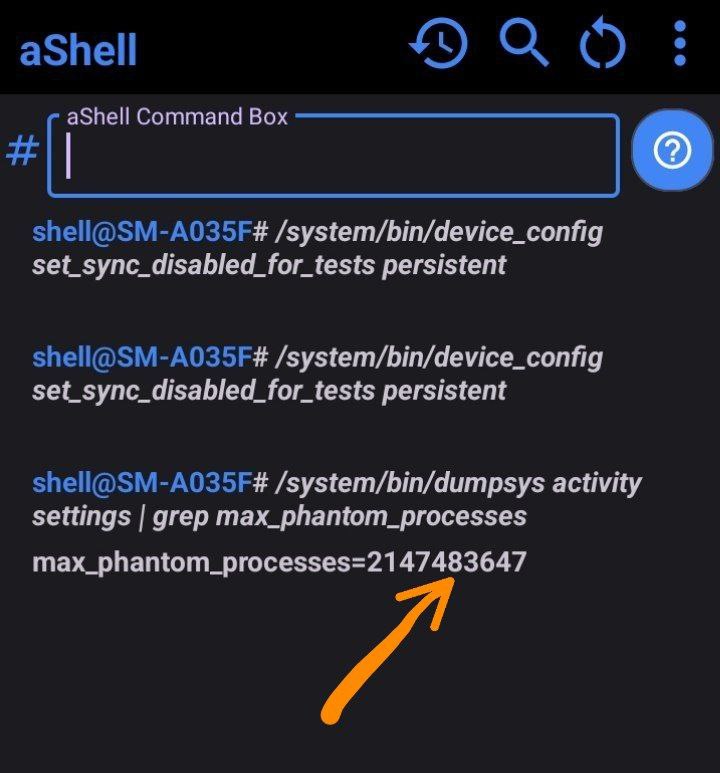
To check whether the command has worked correctly or not, enter the following command
Check:
adb shell /system/bin/dumpsys activity settings | grep max_phantom_processes
Answer:
2147483647
So here, I first entered the command and executed it, and it was successful. Then, I entered the second command to check whether our command has been executed correctly or not
I have noticed a crucial point that people often encounter errors while entering these commands. Most of the time, the issue is either due to extra spaces or spelling errors. Therefore, when entering the commands, double-check the spelling of each command. If you still face issues, please type the commands manually without copy-pasting. I also encountered errors initially, but after trying these methods, everything is now working perfectly
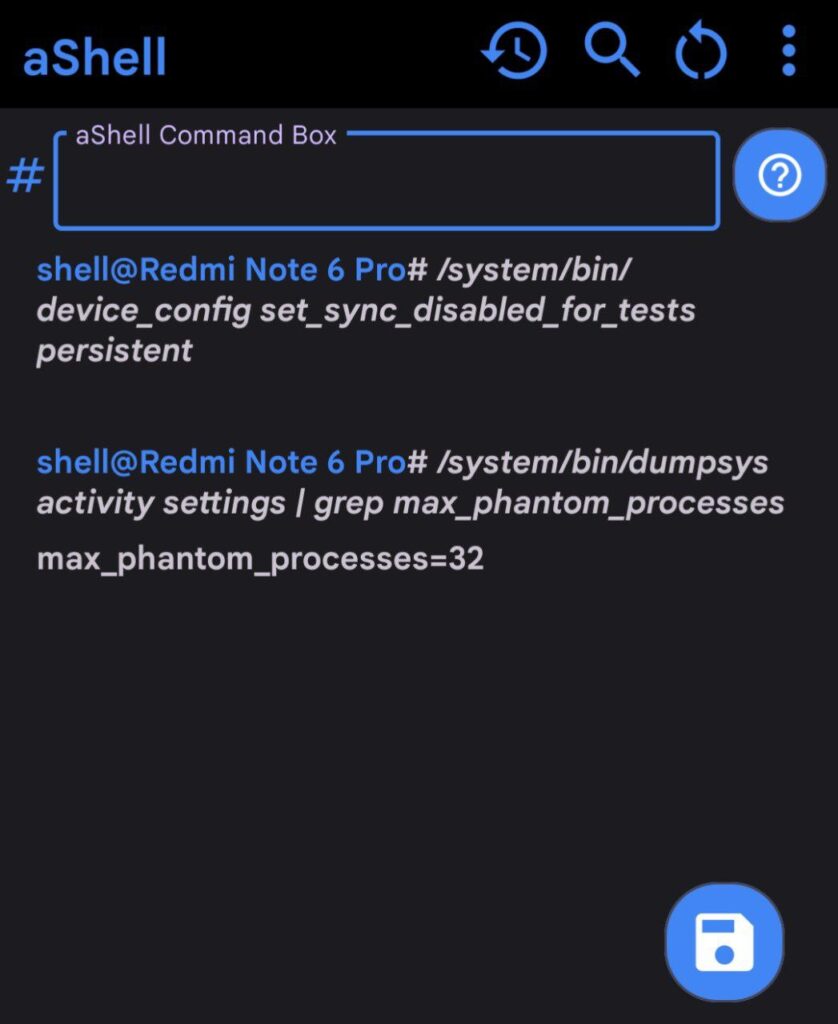
And if you ever find yourself in a situation where the first command has been executed successfully but when you check it using the verification command, the result is different, as shown in this image, don’t worry Everything is okay.
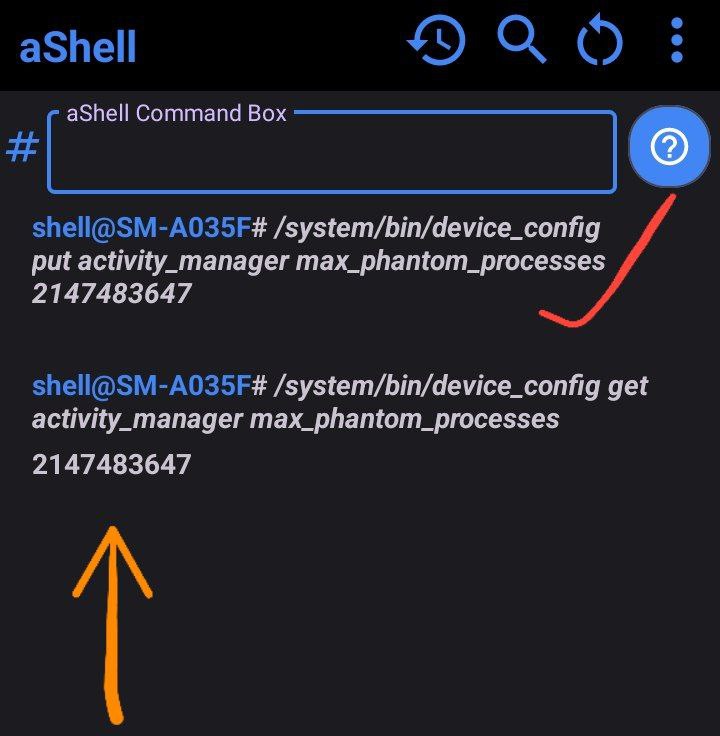
Command 2:
/system/bin/device_config put activity_manager max_phantom_processes 2147483647
To check whether the command has worked correctly or not, enter the following command
Check:
adb shell /system/bin/device_config get activity_manager max_phantom_processes
Answer:
2147483647
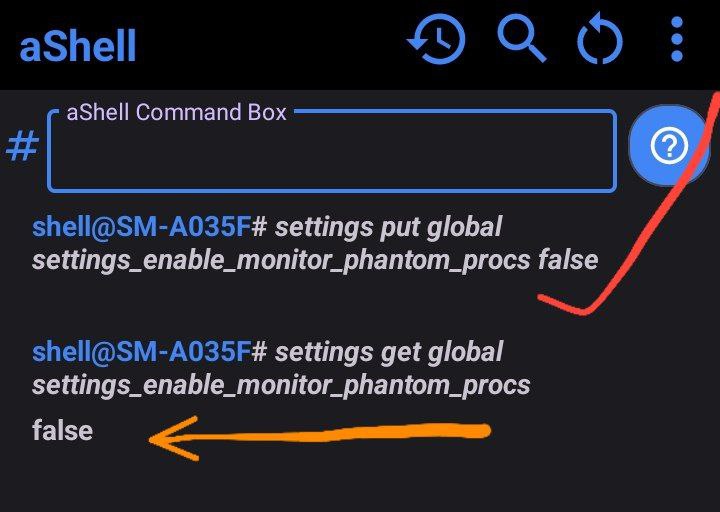
Command 3:
adb shell settings put global settings_enable_monitor_phantom_procs false
To check whether the command has worked correctly or not, enter the following command
Check:
adb shell settings get global settings_enable_monitor_phantom_procs
Answer:
"false"
Conclusion
Now, everything is done. You have successfully disabled the Phantom process